The Steps to Install Visual Studio 2019 Community (for csc
134 Fall 2020)
This article explains how to install Visual Studio
2019 Community in a step by step method. Below is a link to download the
install package.
Step 1
Go through this link for downloading Visual Studio
2019 Community. Link
Click the "Download" button for downloading the VS 2019
executable file on the downloaded path.

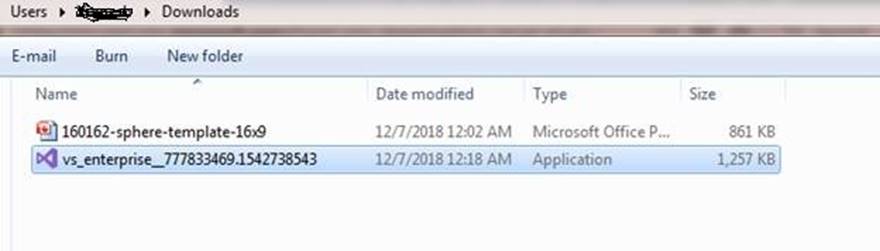
Step 3
Open your system's download
path and find the .exe file.
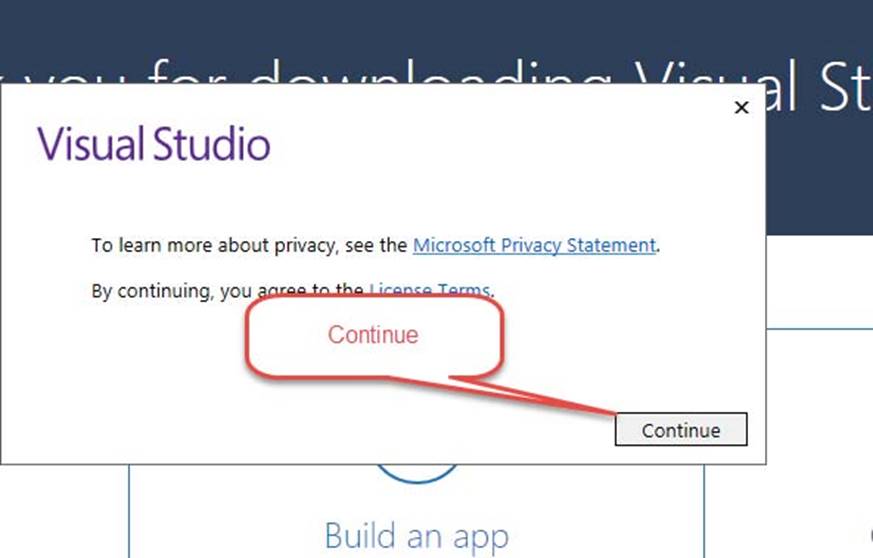
Double-click the .exe file and the Visual Studio installer
window will open. Click "Continue".

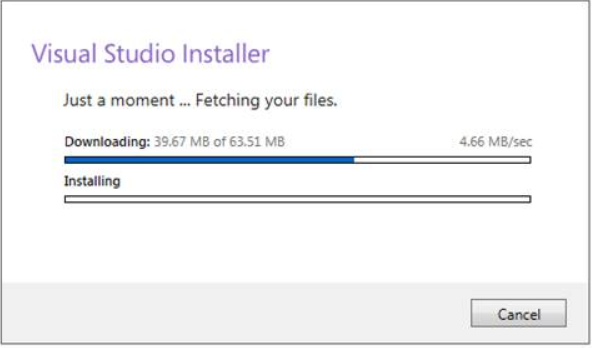
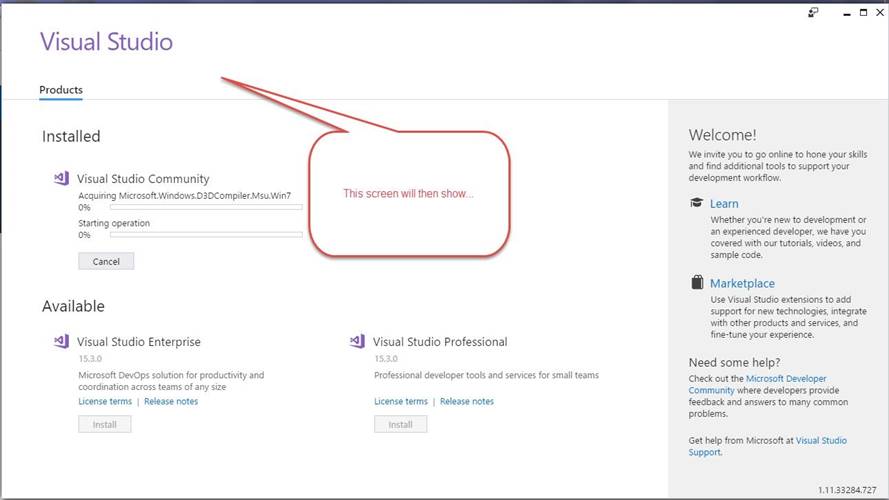
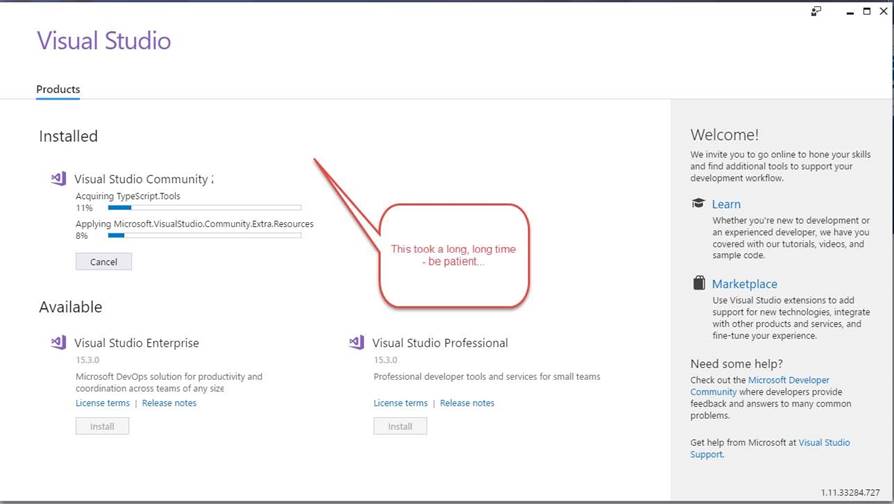
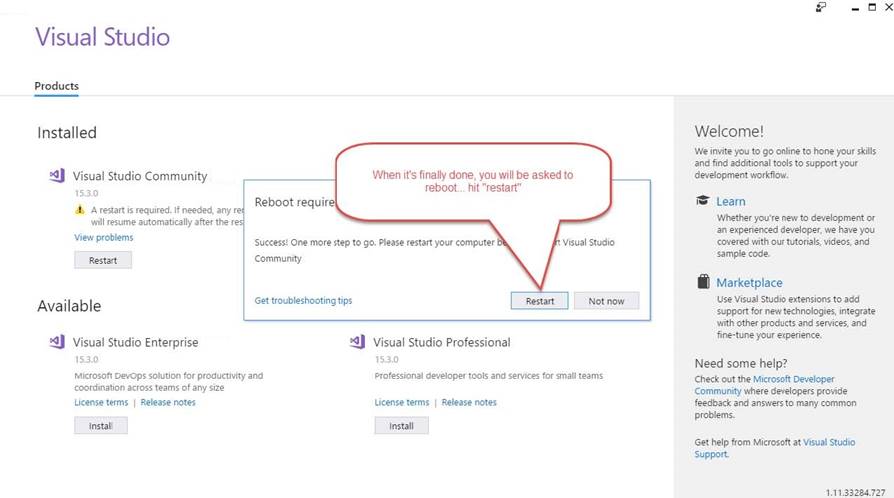
Step 5
Downloading and installing progress bar window will
open after clicking continue. (Some screens may vary slightly
or perhaps not appear, depending on your setup.)
Step 6
After completing the download and installation, then
workloads will open. We need to select the workloads we need as indicated
below.
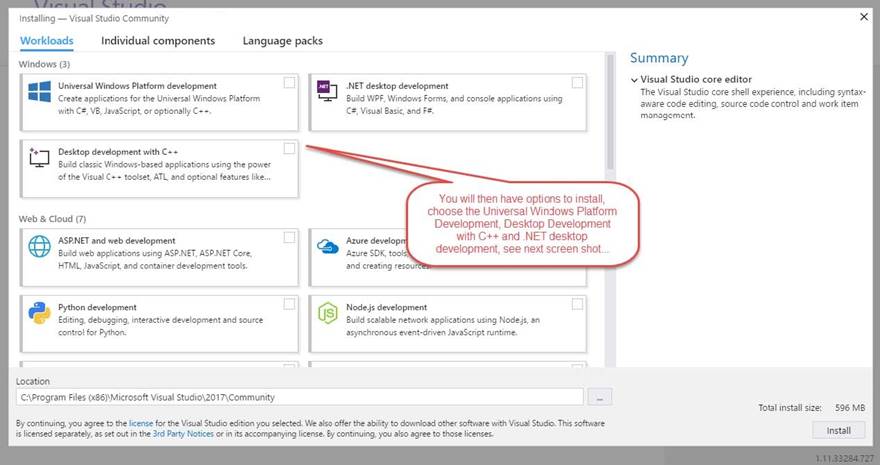
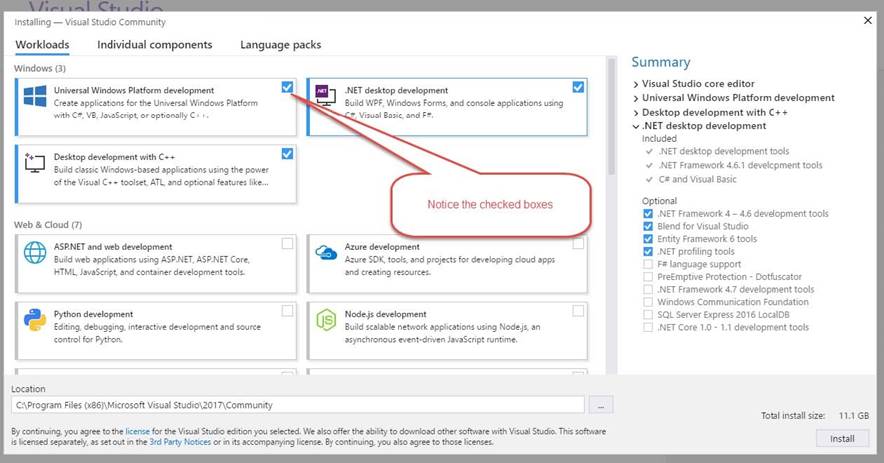
Step 7
Click the "Install" button after selecting
the workloads. Now, the installation will start and you can see the progress
bar for downloading and installing the package.
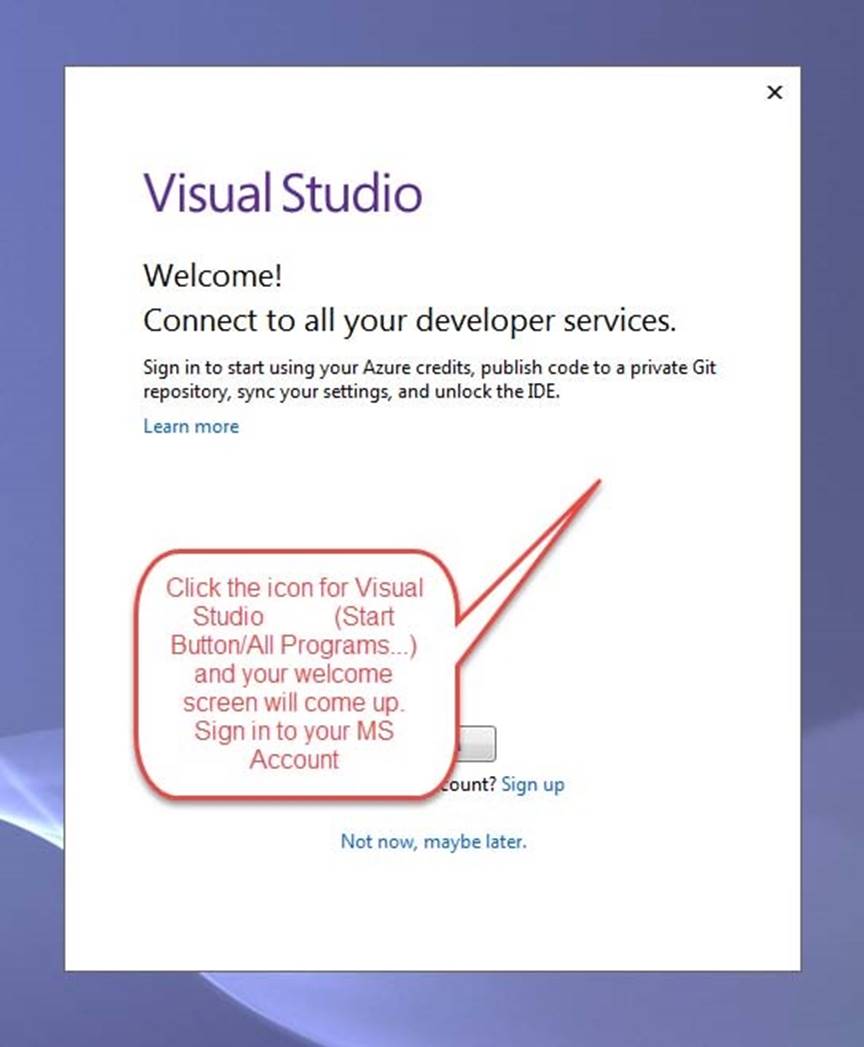
Open Visual Studio 2019 Community and follow the
instruction below.
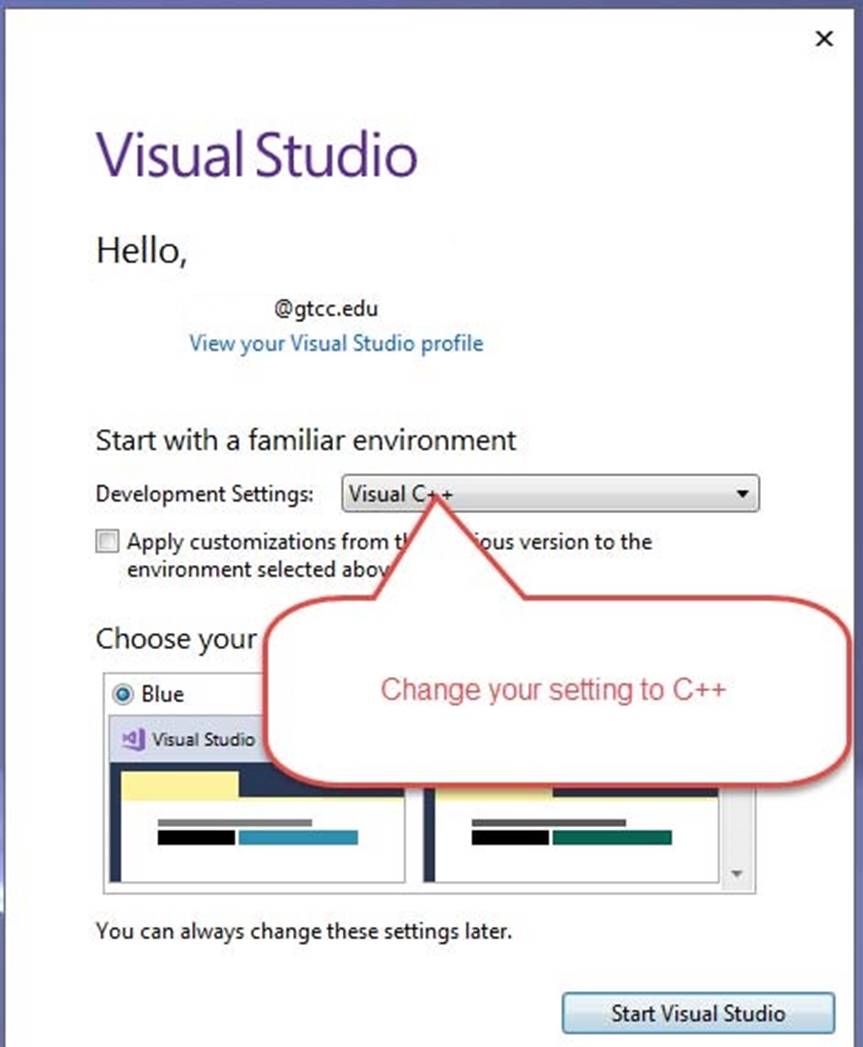
If necessary, change your settings to Visual C++.
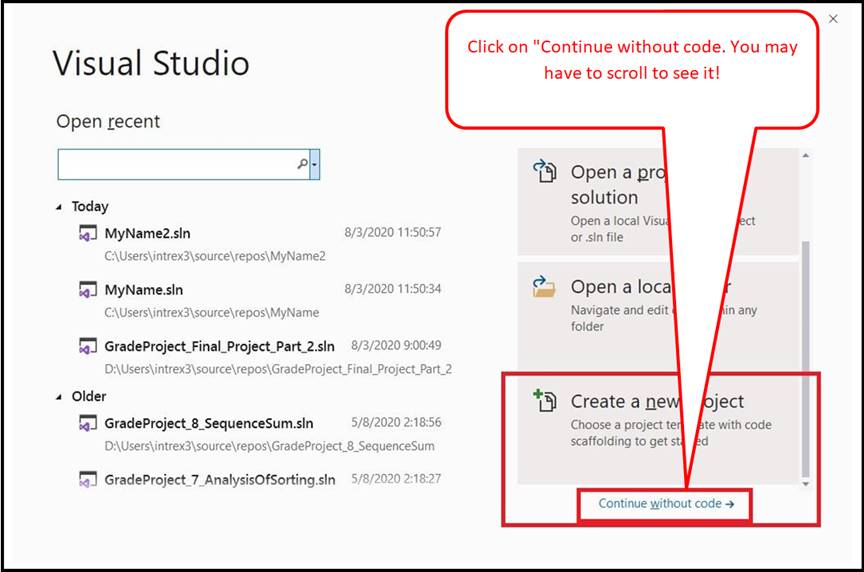
When you begin Visual Studio, you may or may not be
presented with the following screen. You can either choose Create
a new project or continue without code.
I like continue without code better, but you can
develop your own style.
Step 9
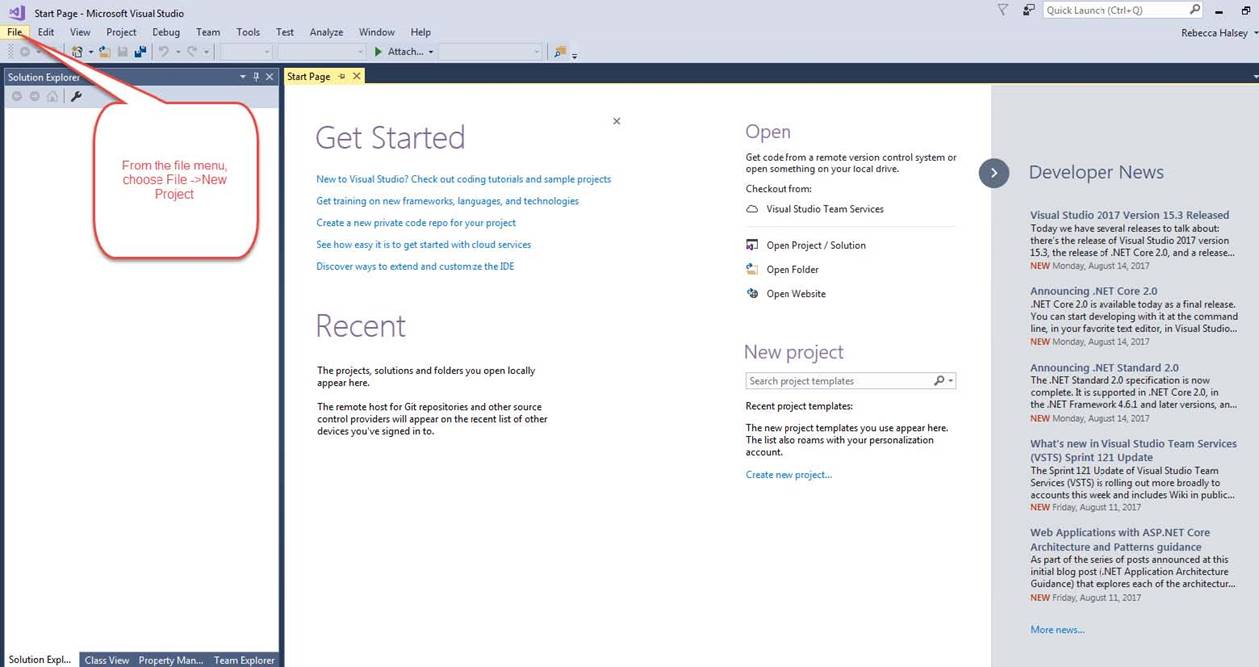
After choosing file new project, choose empty
project and click next. See screen shot.
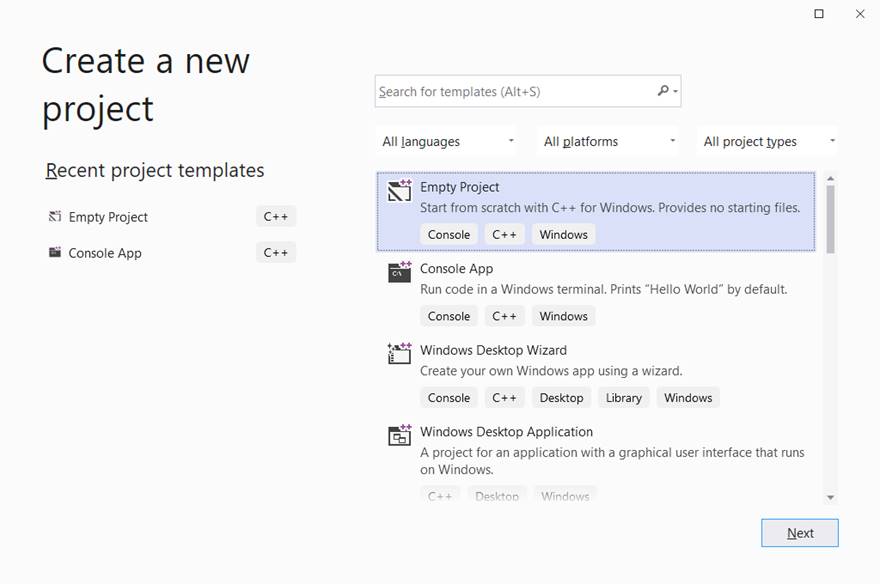
Give the Project the name "MyName".
See screen shot.
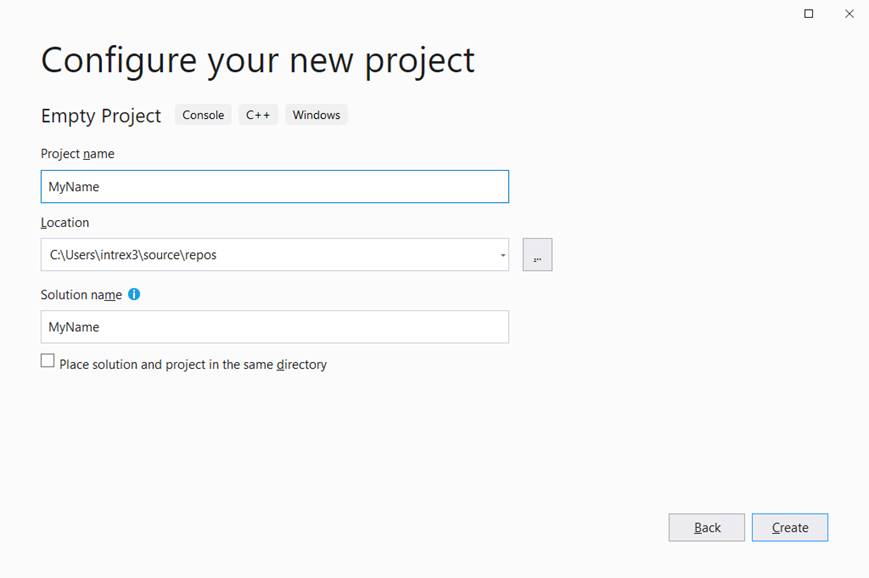
Take note of the location. You will need the
location when it is time to submit to Moodle.
When ready, click create.
Make double sure you have typed the code EXACTLY as
presented here.
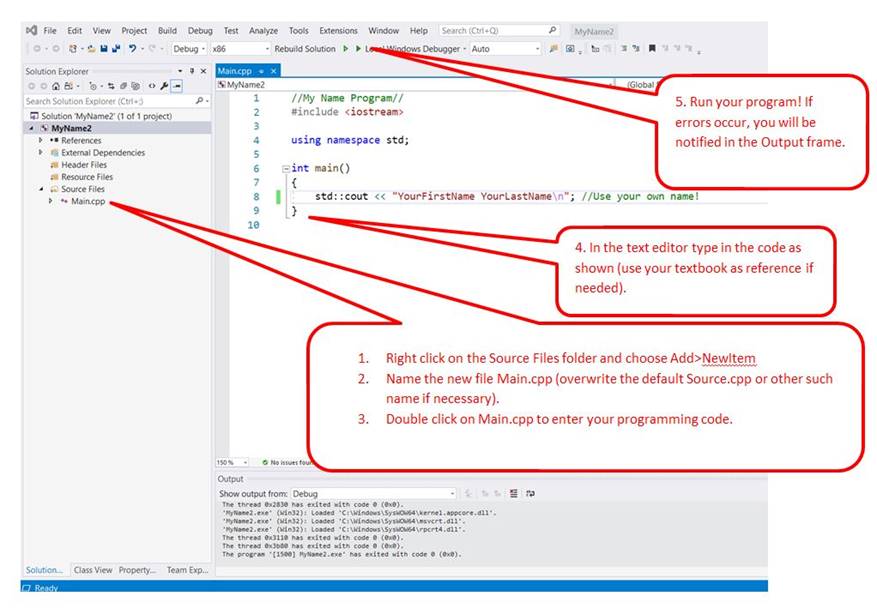
Fix any syntax or other errors and try running your
program again, until it runs correctly.
Step 11
If your program runs correctly then you will see a
black console screen as follows:
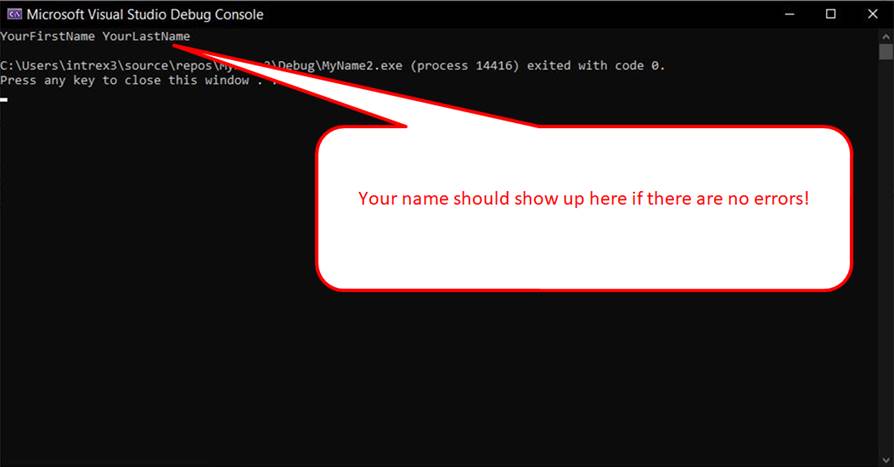
Look for your name in the black console window.
Press any key to close the black console window.
Once you code is running correctly you are ready to
submit your code to Moodle.
Step 12
Submitting your code to Moodle
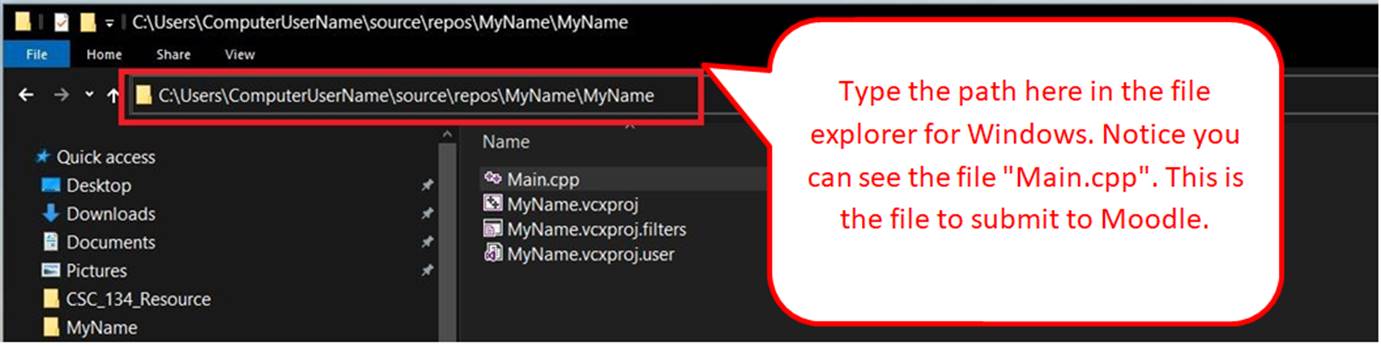
You are seeking to locate your C++ program called
"Main.cpp" and submit it to Moodle. The file will contain the code
you typed into the text editor. To locate your C++ program file for submission to
Moodle, recall the notes you took concerning location (approximately three
screens back). It looks something like the following:
C:\users\ComputerUserName\source\repos\
Now we need to add the name of our project on to the
path above two times like this:
C:\users\ComputerUserName\source\repos\MyName\MyName
(You will need to substitute your current login name
for "ComputerUserName").
For example, if you log into your computer as John Doe,
and your username is JohnD
then the path would be:
C:\users\JohnD\source\repos\MyName\MyName
Type this into a file explorer window as shown
below:
Send "Main.cpp" to Moodle. In
other words, upload "Main.cpp" to Moodle.
-End-